Setting up a Signature Pad for RDP
The following procedures explain how to setup your signature pad for use with a Remote Desktop Connection (RDP).
Client Side Installation
On the terminal that the signature pad is plugged into (usually the POS terminal):
- Download and save the SigPlus BSB pad installer to your local client computer / terminal from the following URL:
www.topazsystems.com/software/sigplusbsb.exe
- Right-click the sigplusbsb.exe file and select Run as Administrator.
- Follow the installer through, choosing the appropriate tablet model during installation.
The tablet model is on the back of the signature pad.
- Select the Windows Start button.
- Type "device manager" in the search field, then select Device Manager at the top of the menu.
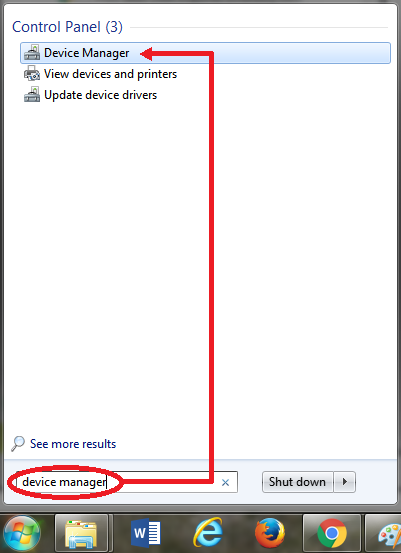
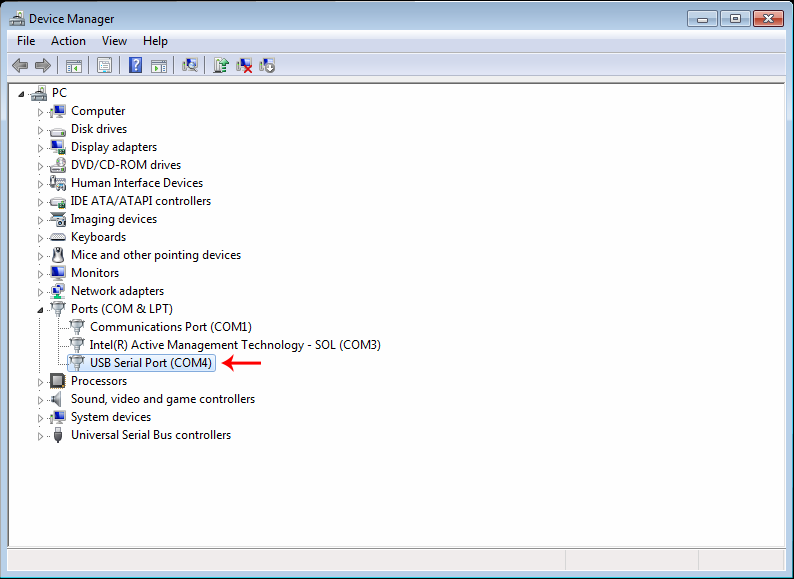
Windows displays the Device Manager screen.
- Expand the Ports entry and locate the USB Serial Port entry, as shown below.
Note the COM port that is assigned to this device. You will need this value later in the setup. In the example below, this is COM4.